I’m deep in the midst of my first super detail project. I’ve recently returned to scale modeling after a 20+ year break…and back when I was doing it 20 years ago, I didn’t have the money to afford, nor was there as many options for resin and photo etch and the rest.
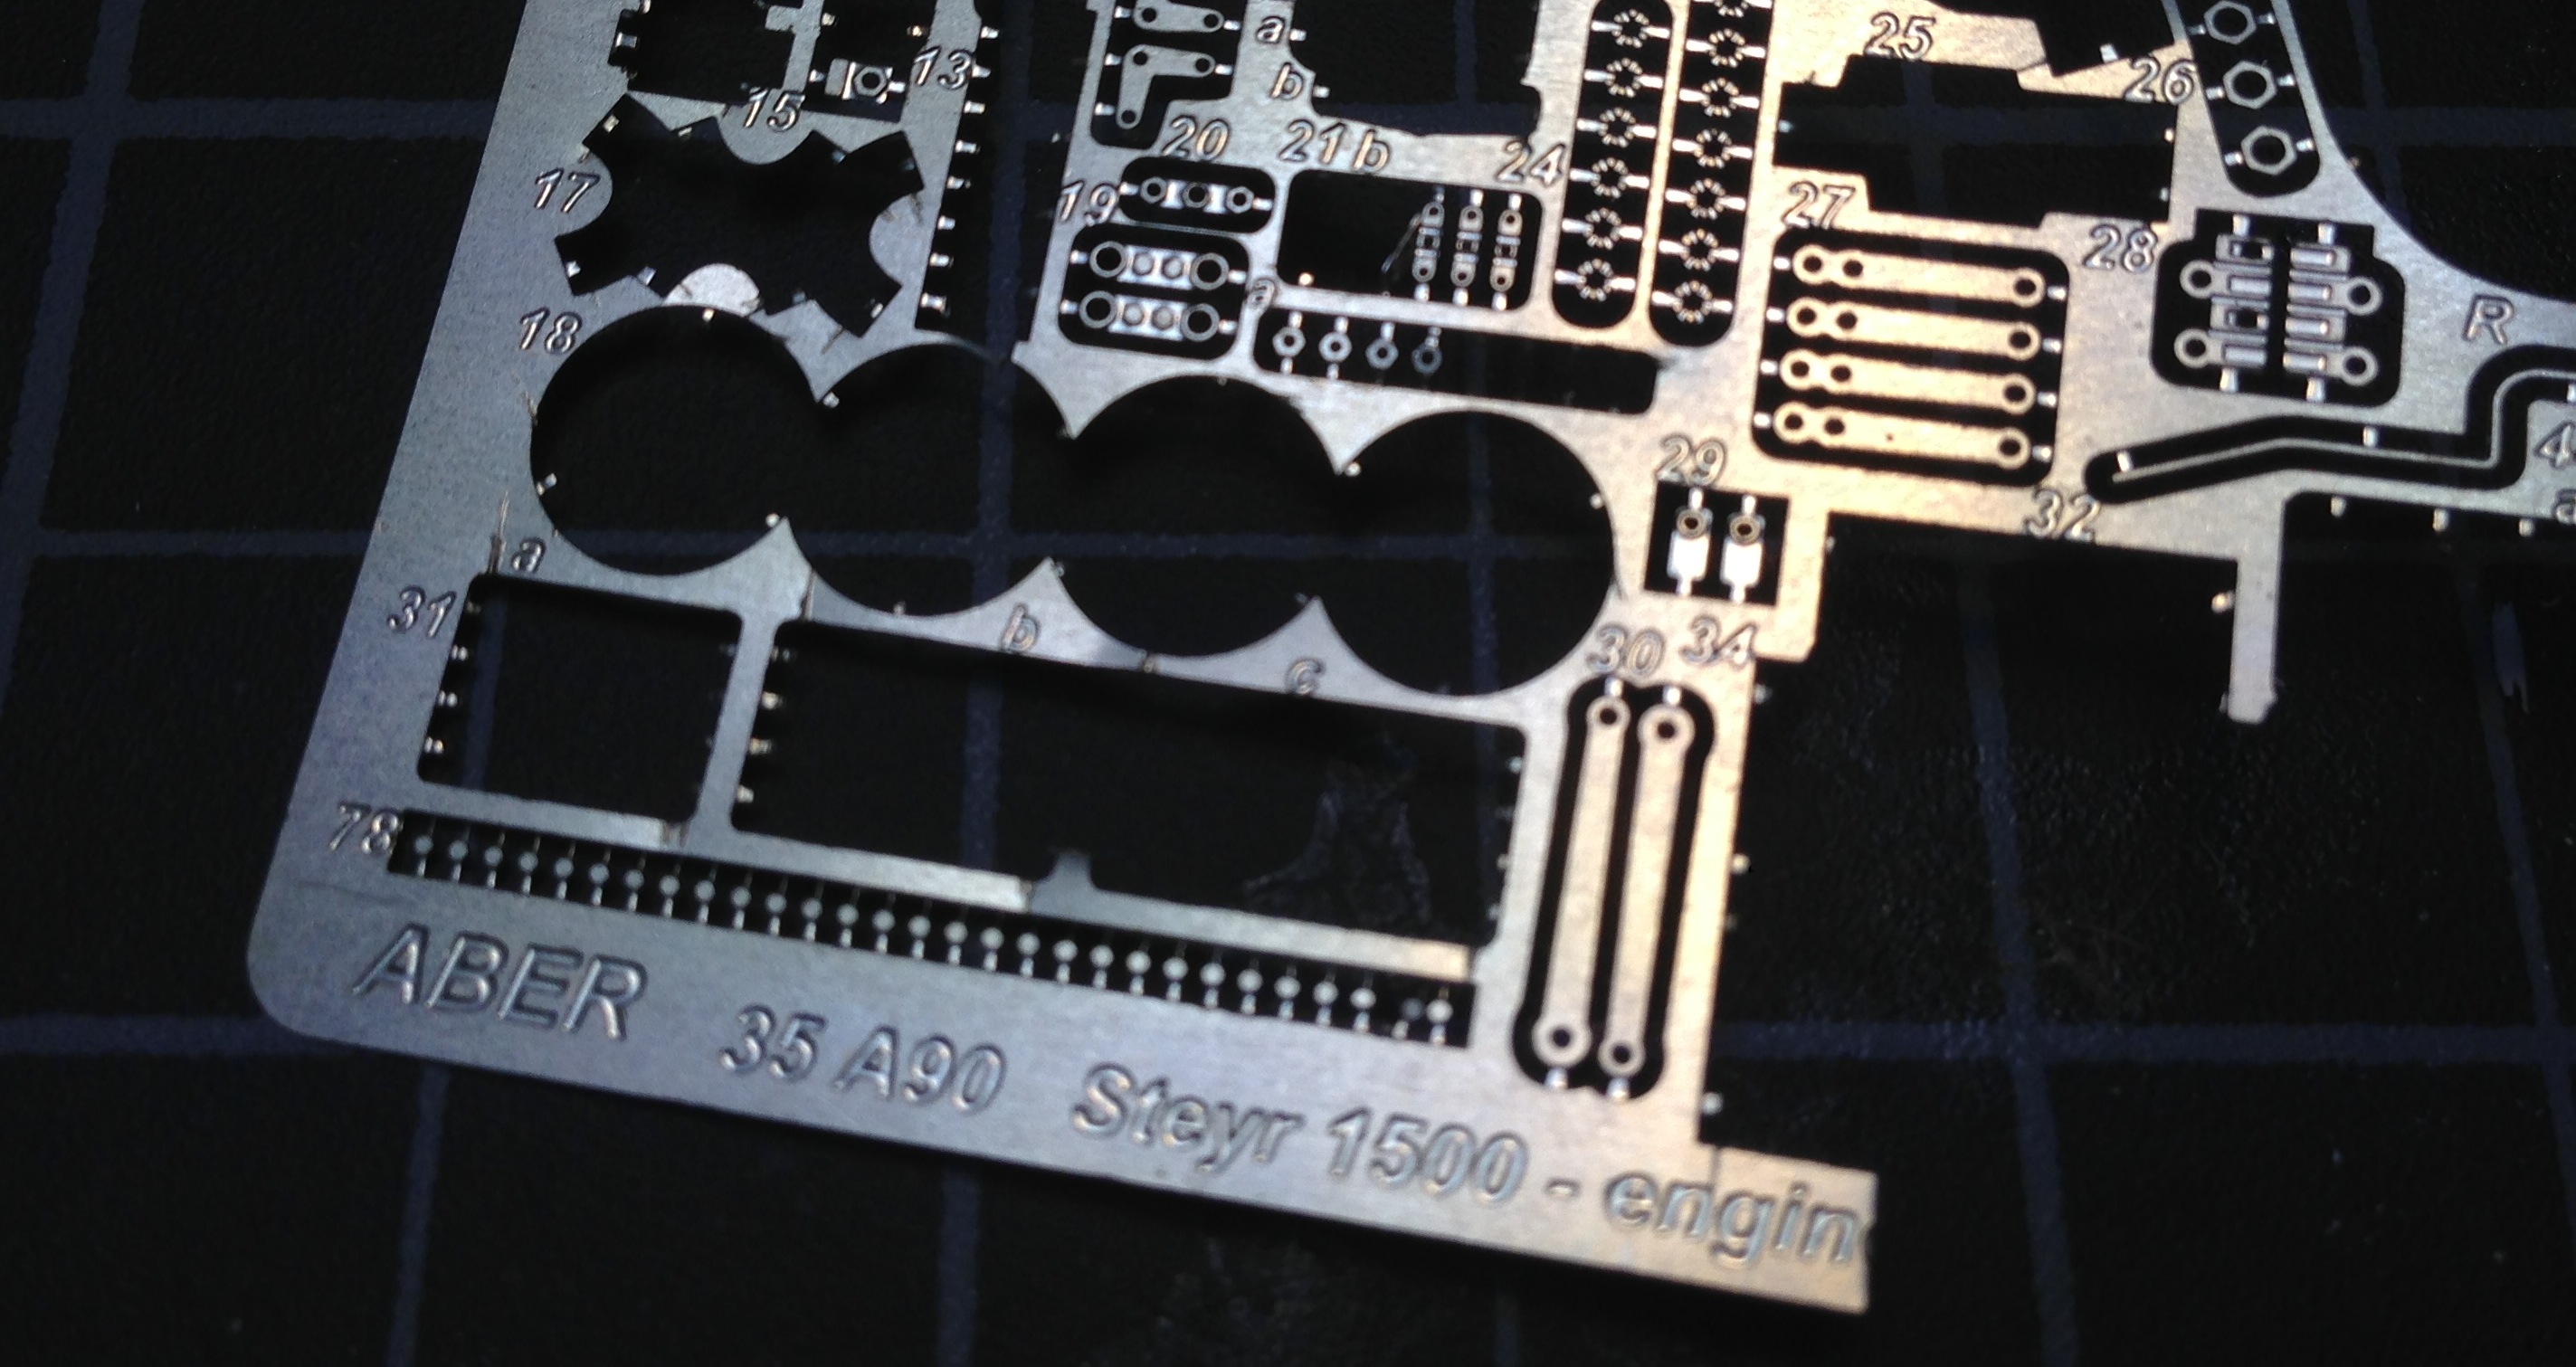
So you can imagine my amusement this weekend as I began reflecting on the build process for my first super detail, a Steyr 1500/A Radio Truck conversion, and realized I have no less than four aftermarket detail kits at work here. No wonder it’s taken so long!
As a newbie to this fine art, I thought I’d capture a few things I’ve learned along the way. Maybe they’ll help others as they get started. Drum roll, please…. and in no particular order, here’s my random list of tips. I’m going to divide into categories to make it easier to keep up.
Photo-etch (PE)
- It’s not as scary as you think. I think this was one of the biggest areas of concern for me taking on the super detailing work. Given the small, small size, the cost, and the delicate nature of the parts, it’s
- Tools make a difference, but here’s what worked for me:
- Tamiya photoetch pliers (long and short) – I use these two, especially the short ones, more than anything else I use
- Mission models scribing tool – great for rounding parts
- Small Shop Tools “Bug” hold and fold bending tool
- Drug store reading glasses – I had Lasik surgery a few years back, so I don’t wear glasses regularly. But I use the strongest part of magnifying reading glasses my local drugstore had. They really zoom the parts in, but are comfortable to wear for long periods. Plus they’re big enough to not feel like I have to focus on looking through a small lens.
- Post-It Note tape – this is a low tack tape that helps keep things from flying around the room. I use a piece of it taped sticky side up to my workbench. When making complex subassemblies or dealing with tiny PE parts, I can bend and fold, then lay on this sticky tape to ensure it’s there if I turn my attention elsewhere. I also stick a piece to the back of PE parts as I cut or knife them off the sprue. No more flying parts into the ether.
- Thin metal razor blades – helps to get under small parts and bend sharply
- Tamiya yellow modeling tape – see above
- Light – seriously, make sure you workbench is as bright as possible. This will really help in better seeing tiny parts.
- Not all materials are created the same. You’d be surprised how different the metals used for PE parts are. Depending on the maker of your aftermarket detail kit, you will likely be dealing with a different type, thickness, or specific metallurgical makeup of your metal. Cut off a bit of the “sprue” metal before you start. If you’re soldering, test with the sprue pieces. Bend a few pieces. Glue a few pieces to plastic, resin, or whatever else you might be using this detail kit on. Keep an eye on how everything reacts to each other. (We haven’t even talked about the different kinds of resin…!)
- You don’t have to use ALL the parts in a PE set! Repeat: You don’t have to use ALL the parts! Manufacturers are trying to provide awesome detail. You’re trying to build a model that looks good and is fun to build. Those two directives don’t necessarily align. If you’re making a diorama and your super detailed vehicle is going to be buried to the top of the tires in mud, why bother with the 200 extra parts meant to detail the chassis?? Use what you want and can have fun with. If you start making a complex subassembly only to realize that the plastic molded version will look far better than your janky PE version, stop! Put the parts in your spares box and move on. There’s no shame in that!
- And along the lines of the point above: if you add some parts, your model will look great. If you add more parts than that, it may or may not look even better. But build for you and what you feel good about. I found myself starting to put together some crazy small or complex sub-assembly, only to ask myself “How much better than the kit part does this *really* look?” If the answer was only marginally, I’d just dump the parts in my spares bin and move on. This is supposed to be fun, after all.
- Find the right tweezers….or more likely, collection of tweezers. I probably have 8 sets of various tweezers, and I use them all for various purposes. But there’s one pair that I use 75% of the time. They have fine sized tips, can be used with gentle or firm pressure, and are easy to clean.
- USE GENTLE PRESSURE! The first few times I had PE (or plastic) parts fly off into the great beyond, it was because I was over torquing my tweezers. Finesse is crucial to ensuring parts stay where you want them.
Hopefully this helps! I’ll continue to blog about my learnings as I do more of these kinds of projects.
Leave A Comment