While scratchbuilding may make you feel like a god, making plastic look like real metal is a sign of reaching all-powerful status.
Dramatic? Yes. Well deserved? Yes. Or at least I think so…
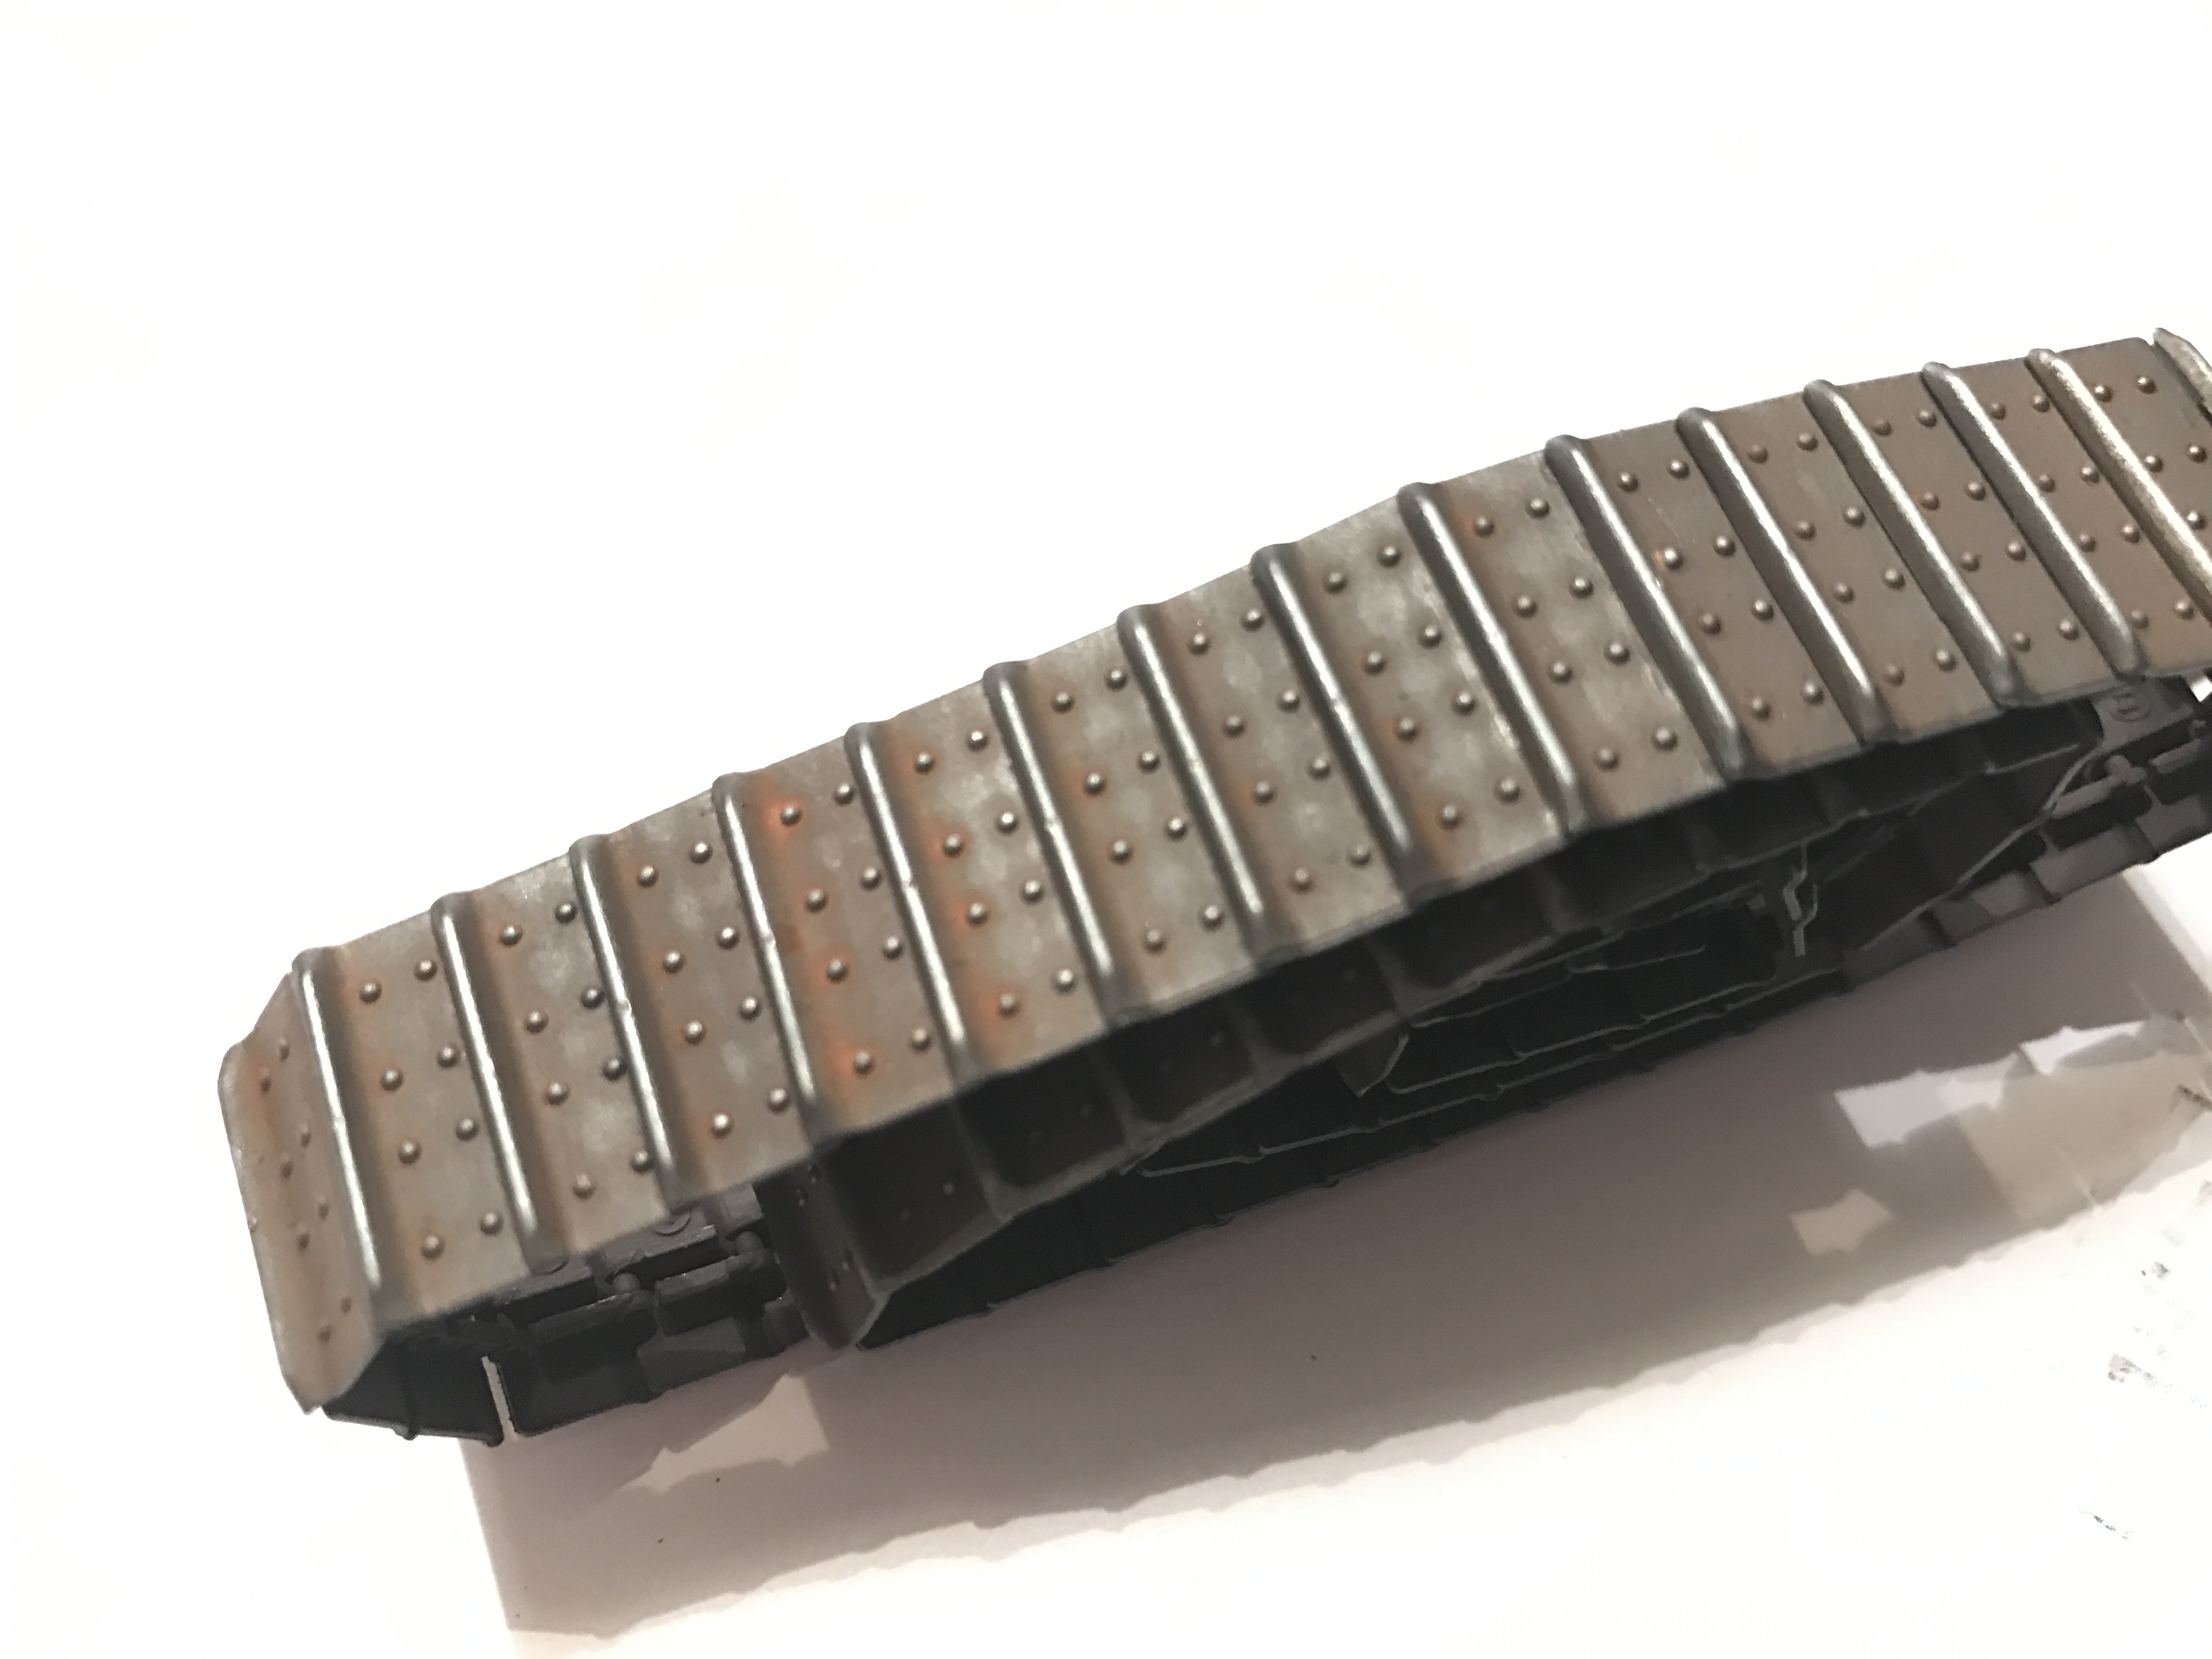
I’m working on the Takom Mk. 1 Male and am about to start painting the hull. But with the house up for sale and me spending a lot of time at the fiance’s house, smaller bite size projects tend to take precedent. Such was the case this weekend when I started working on painting and weathering the tracks. (Very nice click tracks, by the way)
Step 1: Primer
I sprayed my standard Touch n’ Tone on the tracks and left them to dry and cure for a few days.
Step 2: Airbrush base color
Using my airbrush, I sprayed a haphazard pattern across the entire run of tracks (repeating all the rest of the steps for right and left side) of Tamiya german gray + hull red. I then went back in and threw a few strips of that base color + buff to lighten it. It looked like a pretty decent patchwork pattern. That’s the point.
Step 3: Brush paint the highlights
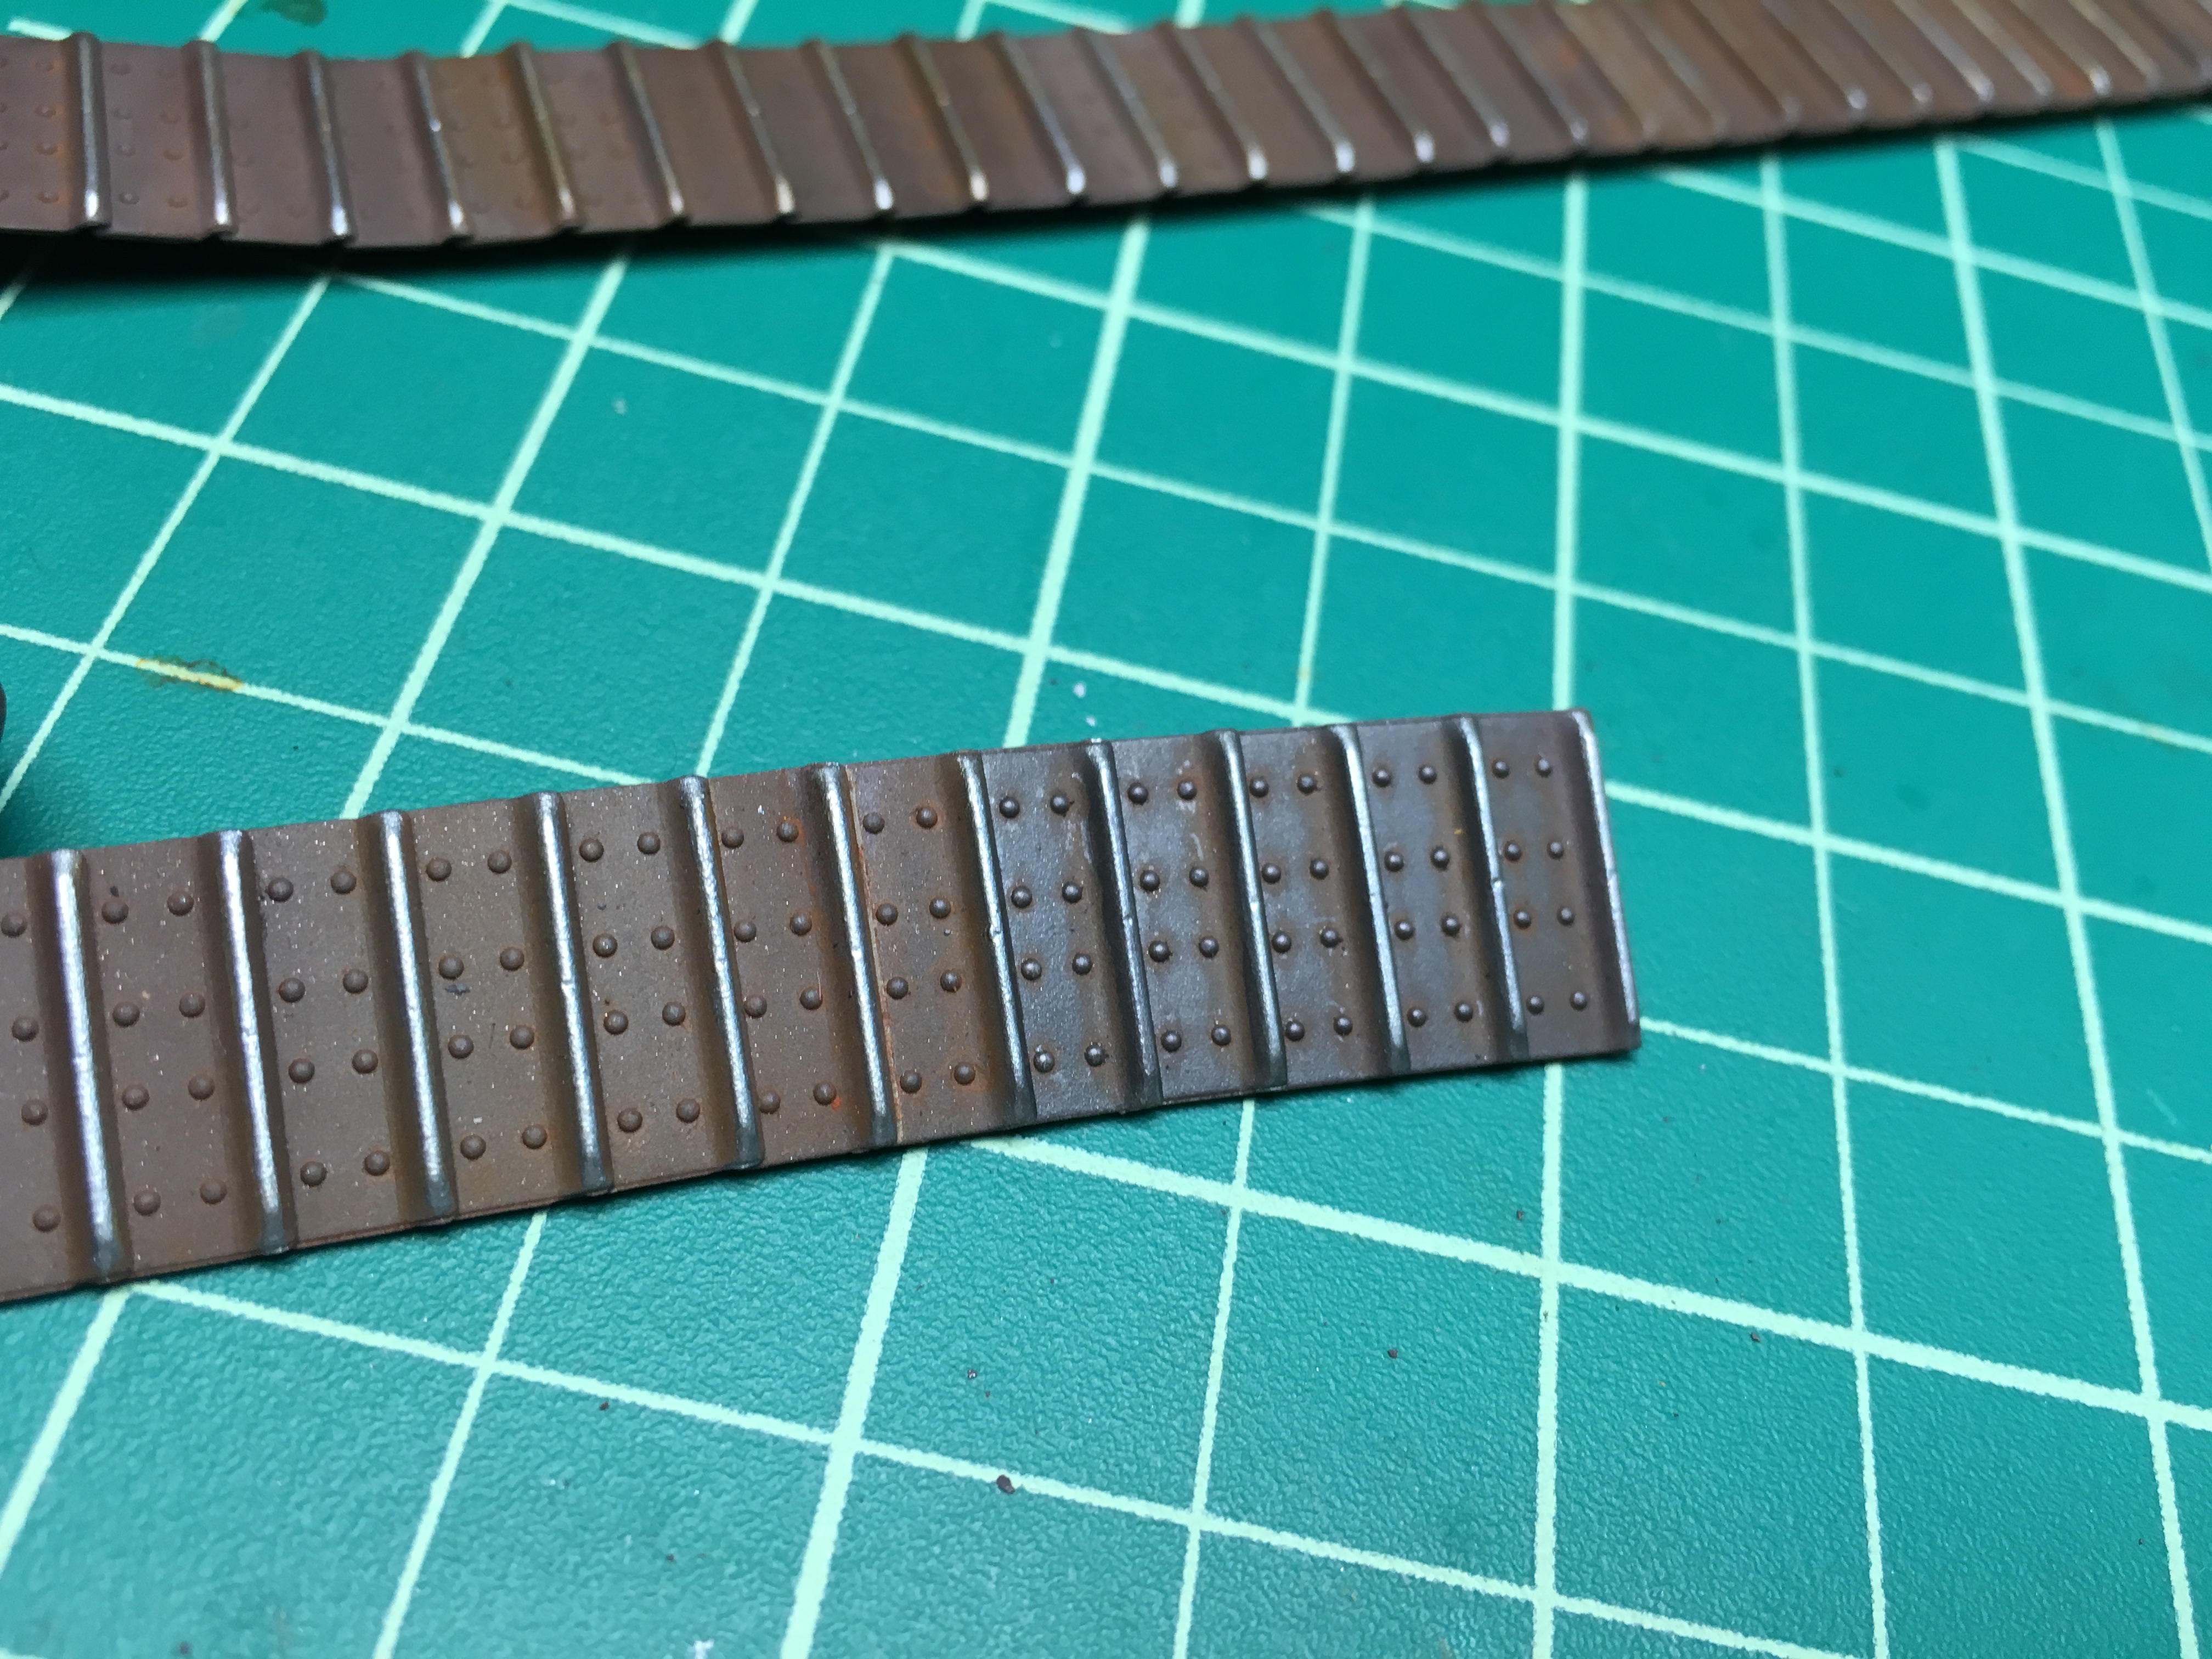
My vehicle is going to be painted for the desert, which means lots of sand “polishing” the high points of the tracks. I brush painted Vallejo’s Natural Steel color across all the top of the track link (the high part at the back of each link). In retrospect, I wish I’d done the same to each of the bolt (?) heads too. Most of this gets covered up in the graphite step below, but it would have provide a bit more pop than what the graphite did on it’s own.
Step 4: Washes
Again, in a haphazard, striped pattern, I applied several washes from AK Interactive (Engine grime, dark rust, light rust, and a dark brown). I applied all the washes except light rust, then let them dry for a few minutes. Then I came back and hit the bolts and the edges with the light rust. It was a bit bright, but that’s OK.
Step 5: Graphite rubbing
Taking a pencil and cutting the wood away to expose the graphite lead inside, I used a hobby knife to make a powder. Then using my finger, I rubbed the high spots of each of the track links individually. This gives each track link a slightly different look which helps to make this feel real and inconsistent. Practice this technique first because you can really change the look of the underlying paint job if you’re not careful. That may be fine, depending on the look you’re going for.
Step 6: Polishing
As a last step, I came back with a Q-tip and polished the high spots pretty vigorously. This helps to bring out the realistic metal “shine”.
I’m pretty proud of how they turned out. I look forward to trying them again on other types of vehicles.

Leave A Comment