
After a bit of a break, I’m back on the Steyr 1500 Radio car project. I had done some The main focus recently has been the engine. First it was the construction and detailing, now we’re on to painting and weathering.
Basic base paint
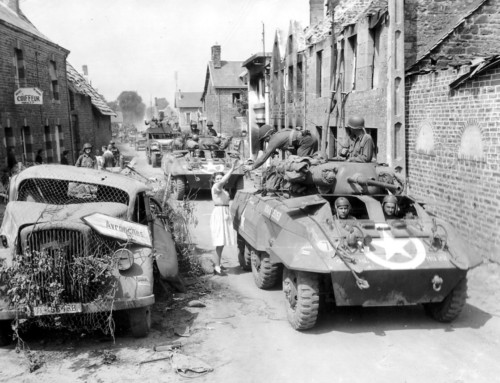
Finding proper color charts for this engine proved tricky. The only color references or details I could find were restored vehicles, which aren’t always the best references. Given that, I decided I’d just go with what seemed the most fun to paint! From this fantastic walk around, I used these great photos to lay down the basic paint.

As you can tell, this was very, very flat. Almost cartoonish!

It’s time to get gunky…
Weathering and Grime
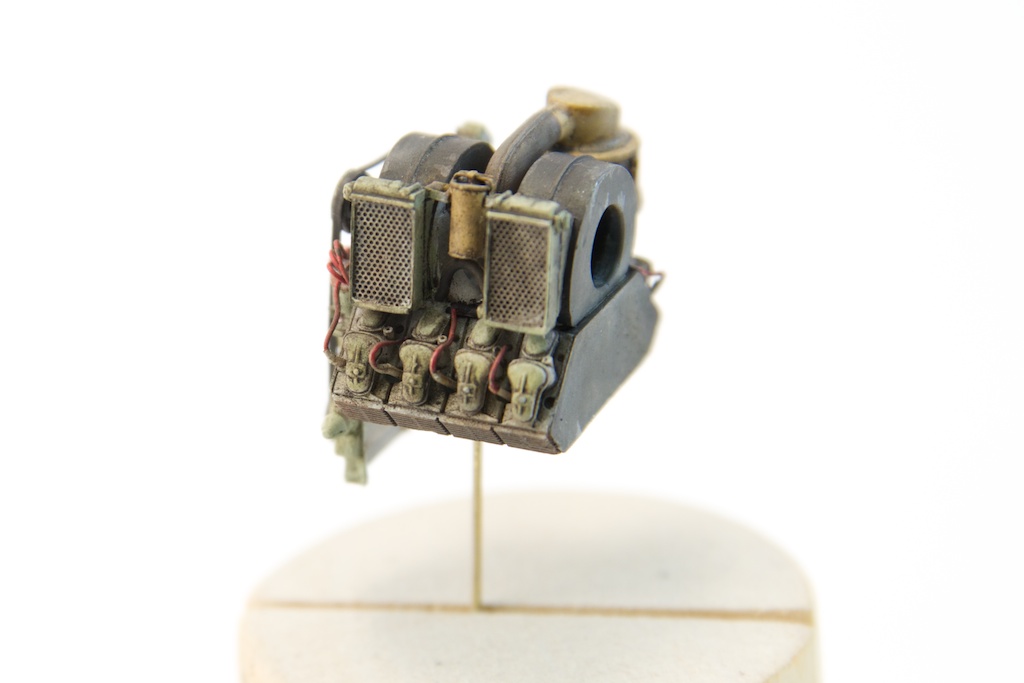
Everything I’ve read about German vehicles says that most were either maticiulously maintained and/or bombed from above before they had a chance to go very far. Engines, especially in this era, are going to get dirty quick. And for a command vehicle, there’s a good chance it would have had a chance to remain in action a bit longer than average. So there’s a good chance the engine would have gotten gunky, but restraint was the key here.
There were a number of techniques I applied, all layered up with plenty of drying time between the layers.
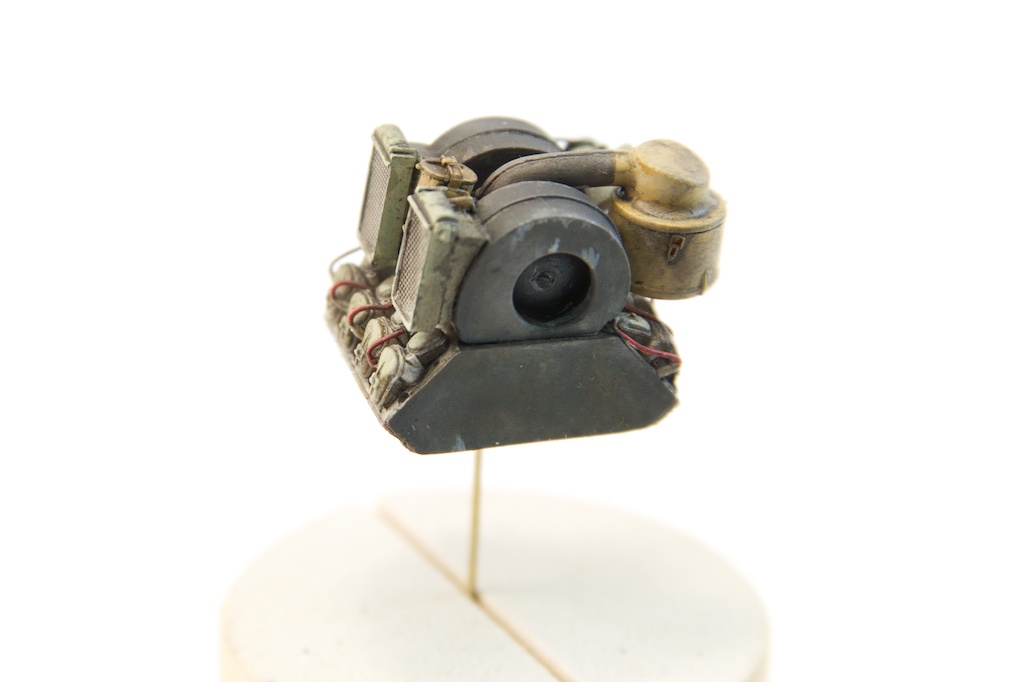
- Chipping (done with a brush around the high spots
- Dark wash with AK Engine Grime (I did several rounds of this wash because I wanted to make sure it looked appropriately gunky without going overboard
- Rust wash (AK Rust effects, just enough to give some color variation)
- Light wash (I did one or two layers of AK Afrika dust wash just to add some depth and a sense of dust collecting on top of the grease)
- AK Oil effects (glossy oil effects, around the dip stick and in a few other random places)
- Mig and Vallejo pigments (Both dark steel on the first layer, then lighter dust on the final layers. The goal was to have that grungy look of oil caked dirt, plus fresher dirt that just landed)
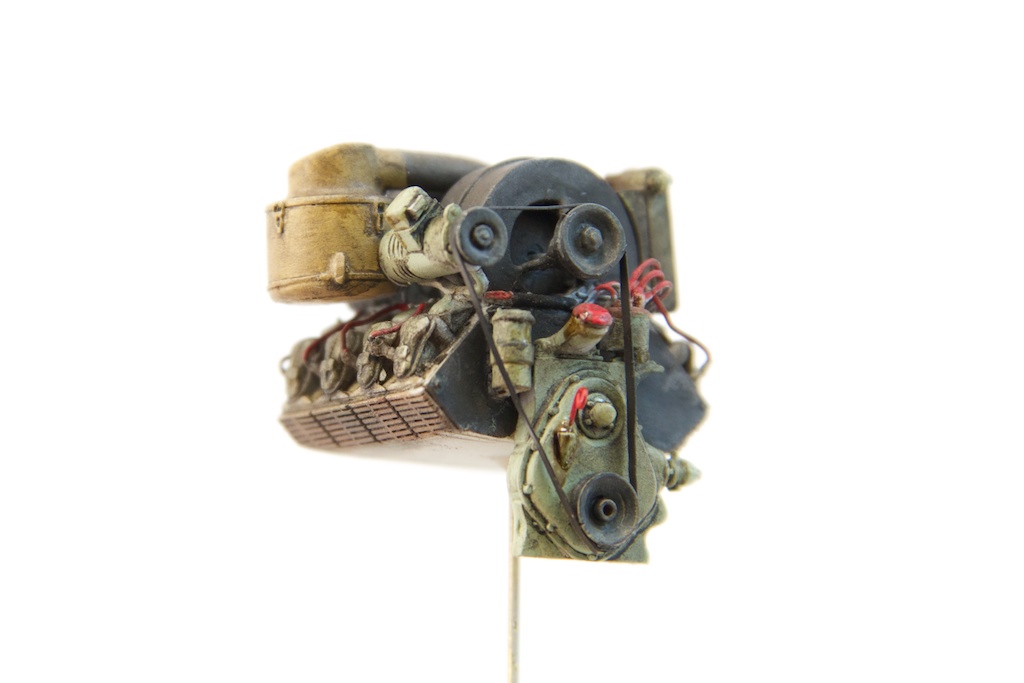
Overall, I’m pretty pleased with how it turned out. It certainly doesn’t look cartoony anymore! I’m pretty sad that I’ll have to cover it up with the engine hood!


Oh, and one last note: The belt was made from wine foil and painted before gluing in place. I started with a dab of super glue at the bottom of the lowest pulley, let it dry, then applied a dab to the next pulley in line and pulled it tight and held it until it dried. Same for the third pulley, then the back to the first pulley to close the loop. Once all was fully dry, I took a fresh knife blade and sliced the very bottom of the foil where the two ends connected (and overlapped) and then all set flat.
Leave A Comment