You know that incredible feeling when you finally figure out a technique that has eaten up too many expensive parts? No matter how many forum posts you read, no matter how many YouTube videos you ready, you simply can’t get the hang of the technique.
Then you do.
Blessed day, you do it.
Yesterday was one of those day.
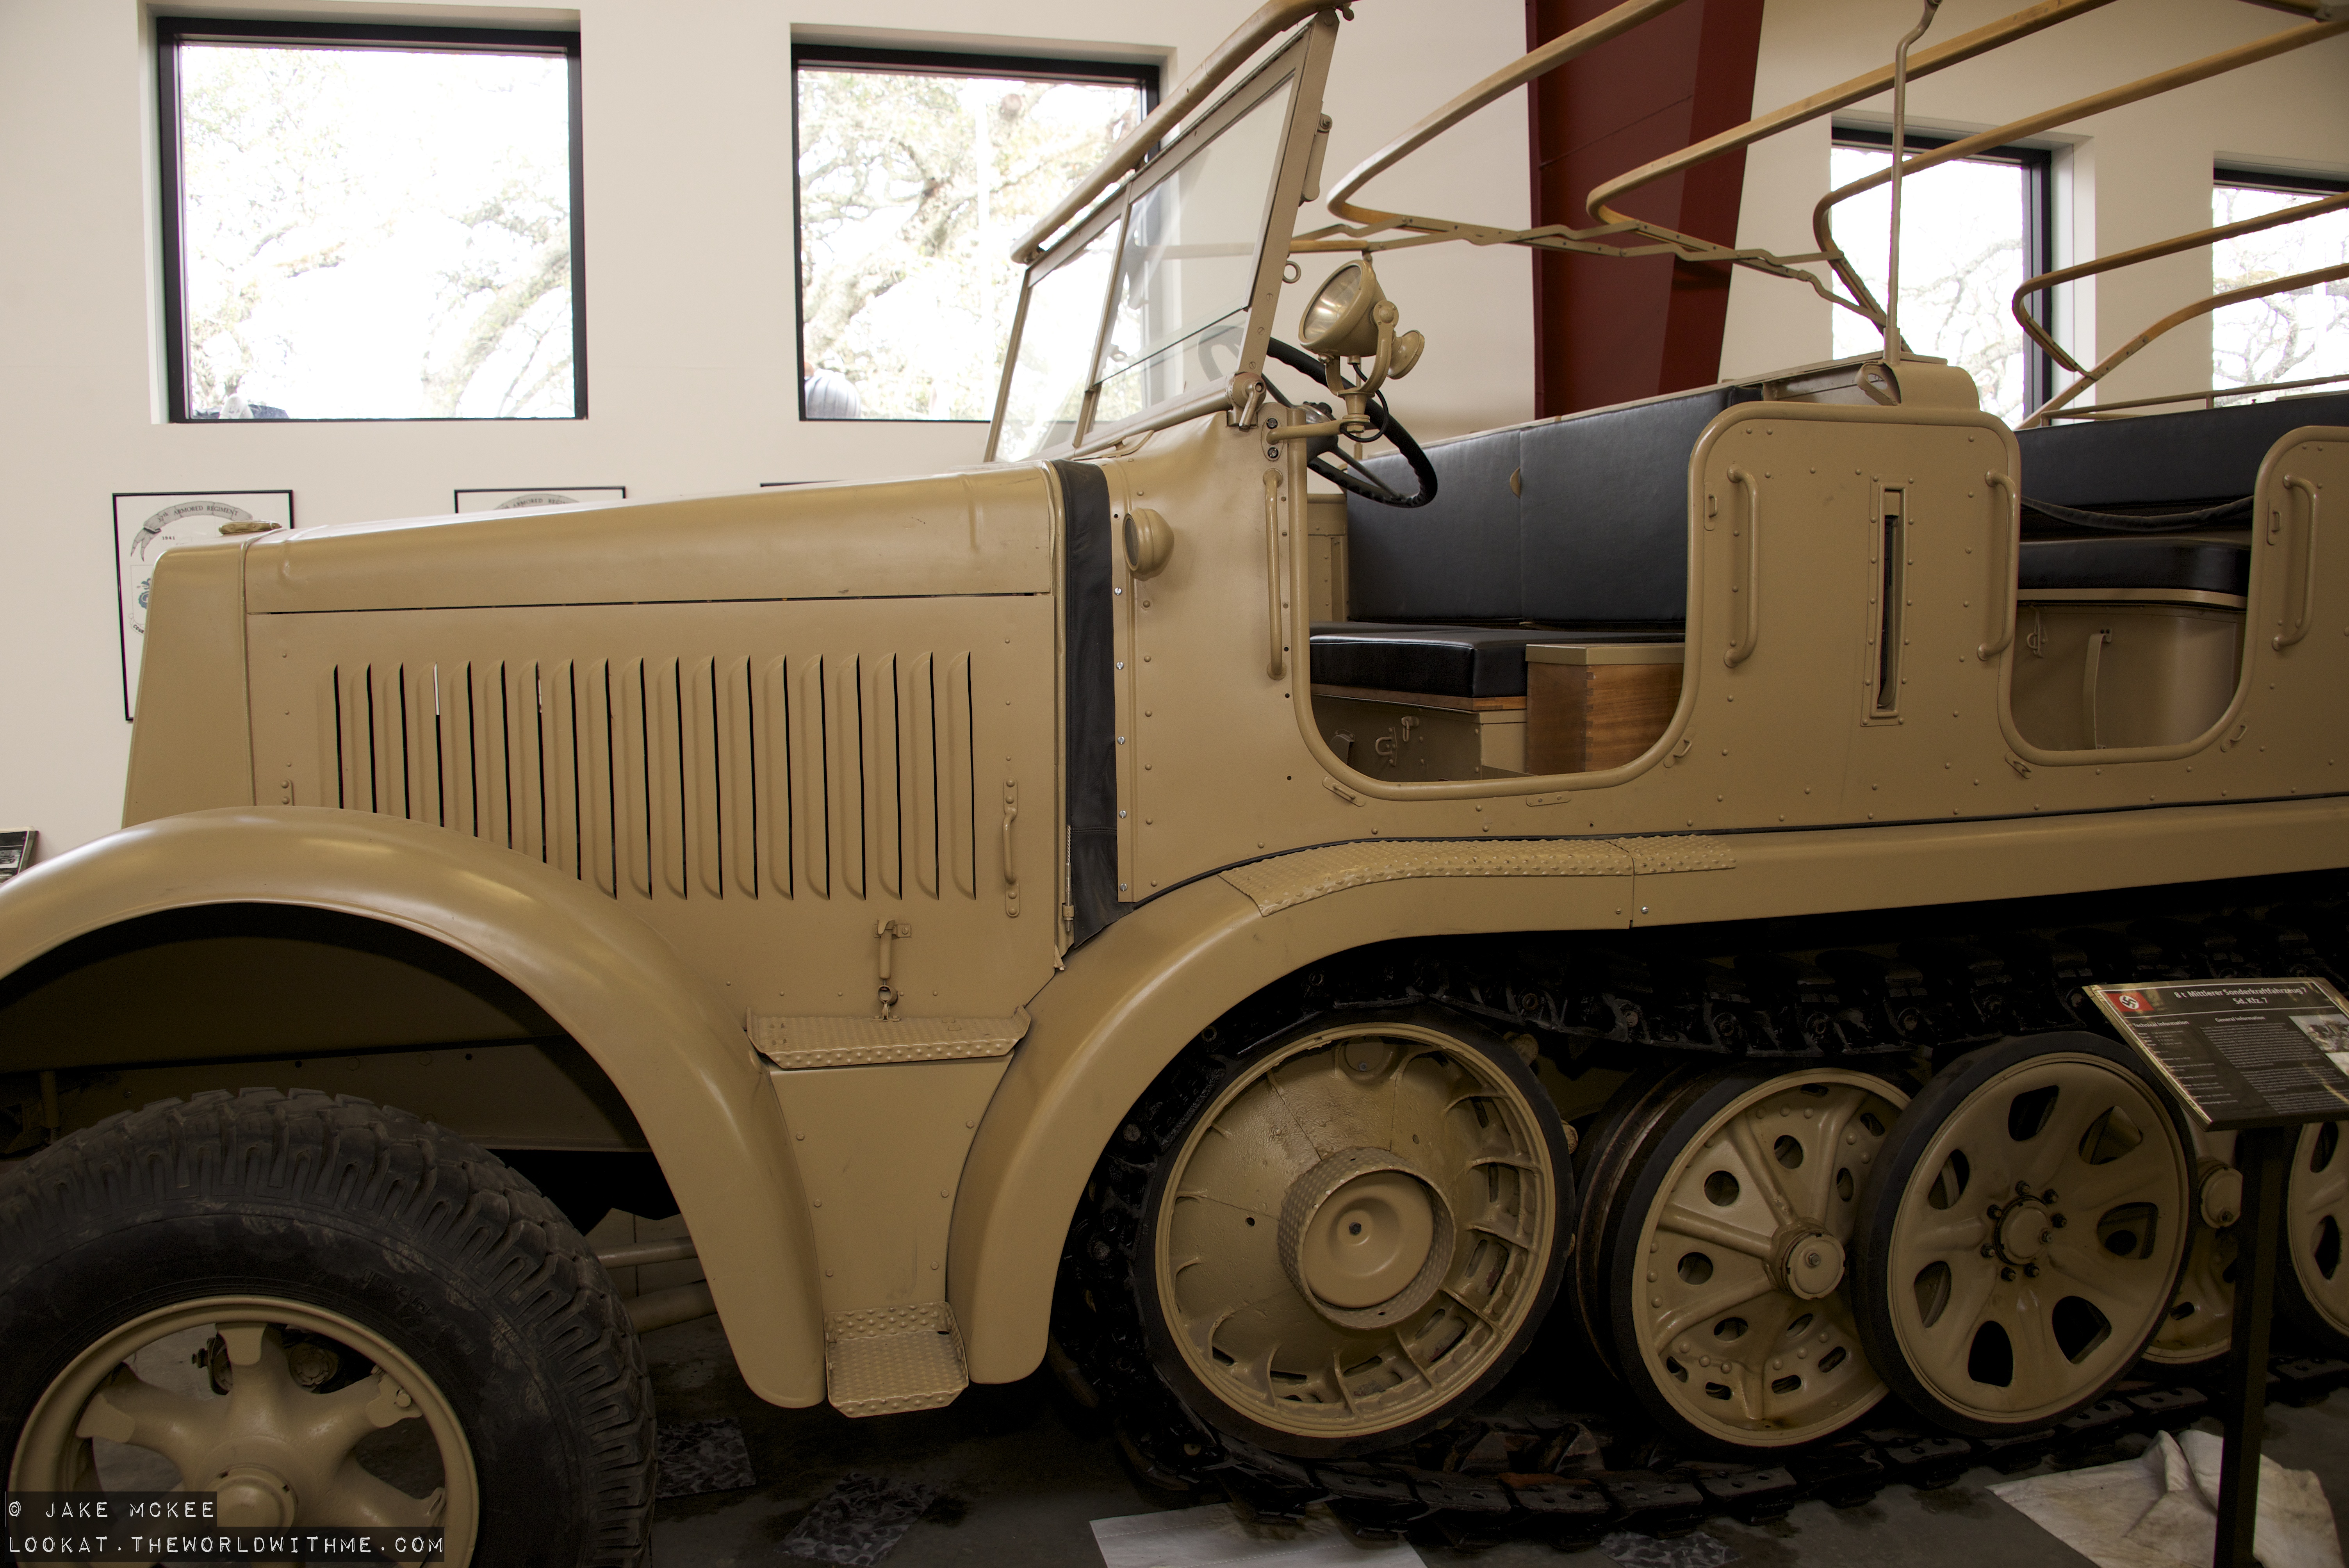
I love superdetailing with photoetch add-on sets. I’m getting better about not losing every third PE part to the carpet void. But one thing I could never, ever figure out is those damn pressed louvres. You know the ones… the vertical sides of many softskin engine compartments. They are molded shut on plastic parts, but are open (and thin) in real life. A perfect PE replacement option.
The problem, however, is that getting the pressed louvres to realistically pop out of the flat PE, all while ensuring the full panel stays flat after said popping. The instructions, shown below, suggest that you use a ball point pin on top of a firm surface to “press” them out on one side. But that never really worked for me in a consistent, smooth look. The louvres didn’t really pop, and the whole panel would curl up like mad. Remember, these pressed louvres are punched out of a sheet of thick metal. So flat and consistent!

But this weekend, I finally figured out the right combination of tools and technique to get it right. Finally. Here’s how I did it:
- Throw aside the ball point pen! I used a retractable Ultra Fine Sharpie instead. It’s a vastly smaller and vastly softer tip than a traditional ball point pen.
- I used a firm piece of thin foam on top of the hard desk surface. Just enough flex to allow the louvres to flex, but not enough to contribute to overall panel curling.
- Leave the parts on the PE sprue. Everything little thing you can do to keep it from rolling up is the goal. Next time, I may clamp either side to a firm block first, with the same thin foam between block and PE part.
- There was a touch of panel bend, so I used my long jawed Tamiya PE pliers to gently coax the edges back into form.
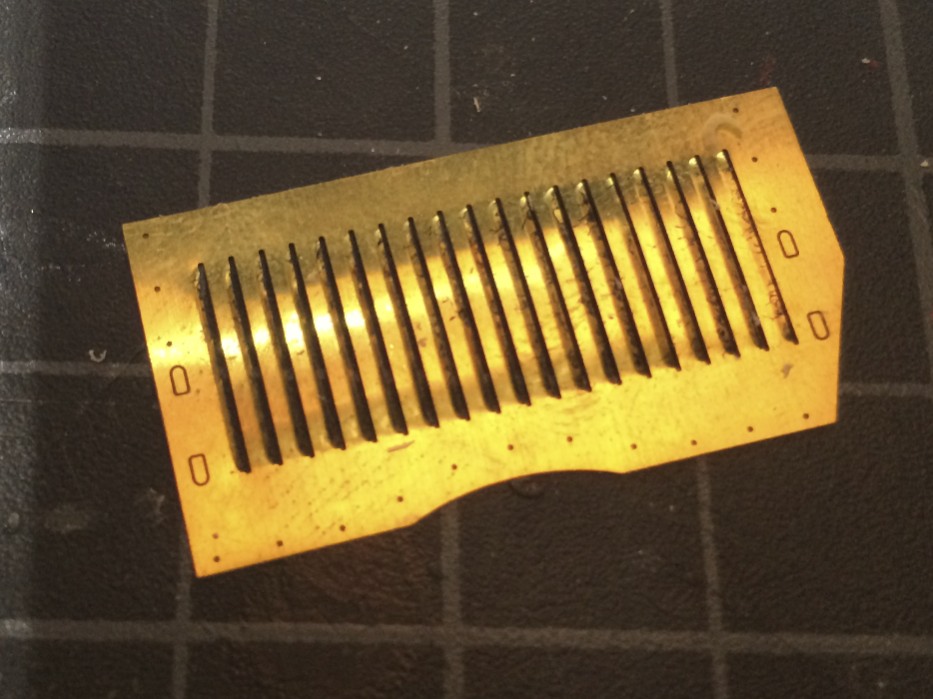
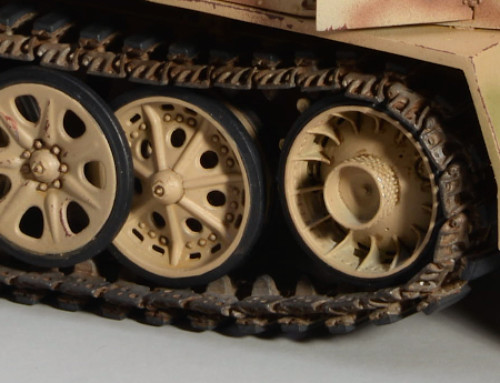
This worked for me! Check out the results:


Leave A Comment